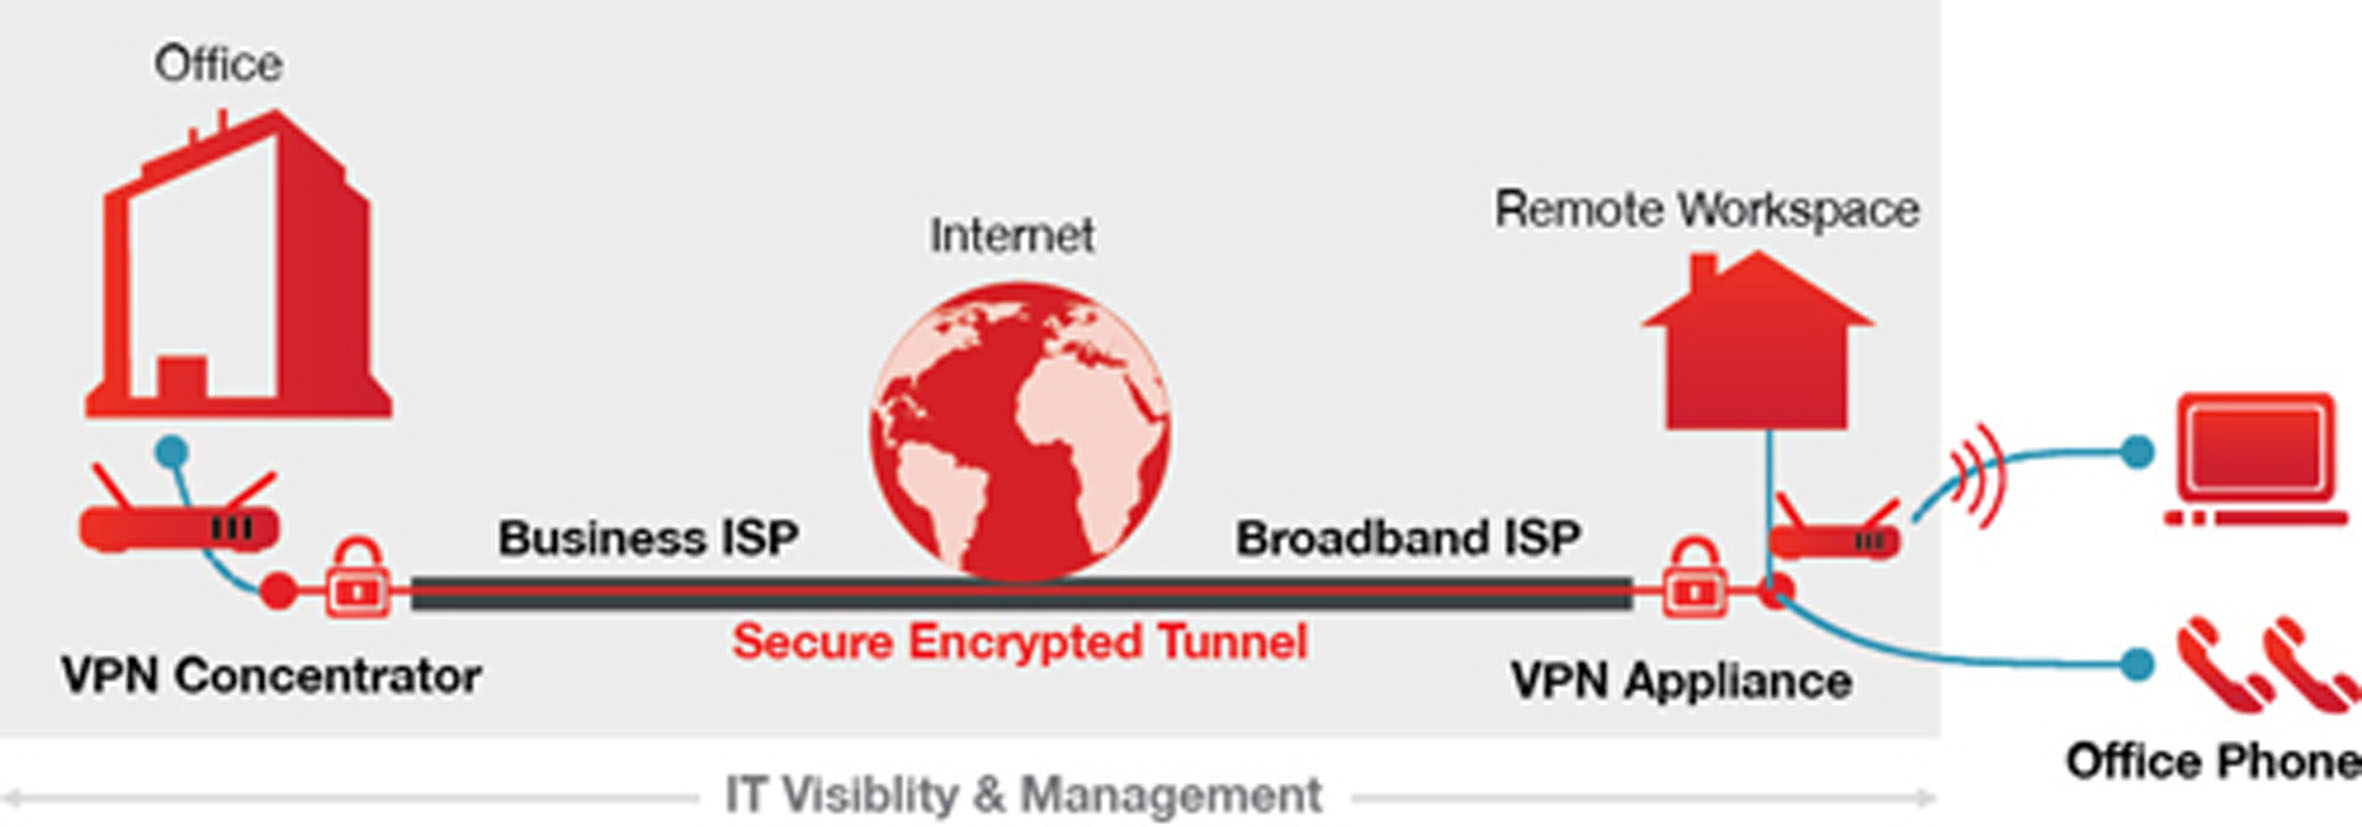
We continue previous post about creation of site to site vpn between multiple branch offices and central office of company.
- How to create site to site VPN for SMB with low IT budget. part1
- How to setup OpenVPN server on debian? part2
- How to create site to site vpn from pfsense to openvpn server.part3
- Install latest Debian Linux (better from network installer). During the installation choose:
- ssh server
- std system utilities
- Configure IP address for the server. For example nano /etc/network/interfaces:
iface eth0 inet static
address 192.168.0.2 # it is considered that 192.168.0.1 is used as dgw in central office
gateway 192.168.0.1
netmask 255.255.255.0
network 192.168.0.0
broadcast 192.168.0.255
- Let’s putty/ssh to 192.168.0.2, run under root:
- apt-get update
- apt-get install openvpn (if easy-rsa has not installed by openvpn as a dependence apt-get install easy-rsa)
- cd /etc/openvpn/easy-rsa/
- nano vars, modify for example to:
export KEY_COUNTRY="MN"
export KEY_PROVINCE="TUV"
export KEY_CITY="UB"
export KEY_ORG="ITFORCE LLC"
export KEY_EMAIL="it@itforce.mn"
export KEY_OU="IT"
# X509 Subject Field
export KEY_NAME="EasyRSA"
- source ./vars
- chmod +x vars
- ./vars
- ./clean-all
- ./build-ca (it will read data from vars – just confirm above info, only for “common name” enter ITFORCE-CA; as a result inside /etc/openvpn/easy-rsa/keys you will get ca.key and ca.crt files – private key and certificate of your PKI CA)
- ./build-key-server server (the same, common name is “server”; get two new files in keys folder – server.key and server.crt) No need to enter password (optional)
- ./build-dh
- ./build-key client01 (one pair of certificate + key can be used for all branches, but better to generate for each branch own certificate+key – in case of compromise easier to change/fix/revoke) For common name – client01. As result — client01.key and client01.crt in keys folder
- Let’s consider that we have following subnets:
central office and all branch offices have the same 192.168.0.0/24
We will later change thru pfsense all branch office subnets to:
- branch office 01 – 172.16.101.0/24
- branch office 02 – 172.16.102.0/24
- and so on
For each branch we will create own tunnel, so port forward on your central office router:
- UDP 51191 to 192.168.0.2:51191
- UDP 51192 to 192.168.0.2:51192
- and so on
- Now we create for each branch own tun0x.conf:
tun01.conf:
port 51191
proto udp
dev tun01
tls-server

ifconfig 10.0.51.1 10.0.51.2
route 172.16.101.0 255.255.255.0

dh /etc/openvpn/easy-rsa/keys/dh2048.pem
ca /etc/openvpn/easy-rsa/keys/ca.crt
cert /etc/openvpn/easy-rsa/keys/server.crt
key /etc/openvpn/easy-rsa/keys/server.key
reneg-sec 60

keepalive 10 120
comp-lzo
cipher AES-256-CBC
persist-key
persist-tun

verb 5
status /var/log/openvpn.log
#log-append /var/log/openvpn01 - enable it just for initial setup debugging
user nobody
group nogroup
tun02.conf:
port 51192
proto udp
dev tun02
tls-server

ifconfig 10.0.52.1 10.0.52.2
route 172.16.102.0 255.255.255.0

dh /etc/openvpn/easy-rsa/keys/dh2048.pem
ca /etc/openvpn/easy-rsa/keys/ca.crt
cert /etc/openvpn/easy-rsa/keys/server.crt
key /etc/openvpn/easy-rsa/keys/server.key
reneg-sec 60

keepalive 10 120
comp-lzo
cipher AES-256-CBC
persist-key
persist-tun

verb 5
status /var/log/openvpn.log
#log-append /var/log/openvpn02 - enable it just for initial setup debugging
user nobody
group nogroup
and so on
10.0.5x.yy addresses are used only to create tunnels and never used directly.
- Place all tun0x.conf files into /etc/openvpn/ folder. During start of openvpn service all these files will be read one by one. As result we will get new network interfaces – ifconfig will show not only lo and eth0, but also tun01, tun02 and so on.
- Very useful to uncomment #log-append /var/log/openvpnxx for initial debugging how connections are established. But later better to disable logging – it consumes a lot of disk space.
- Enable Packet Forwarding
echo 1 > /proc/sys/net/ipv4/ip_forward
to make this permanent :
nano /etc/sysctl.conf
# Uncomment the next line to enable packet forwarding for IPv4
#net.ipv4.ip_forward=1
- restart server
- two options:
- all network traffic will go thru new openvpn router – for this configure all central office network devices default gw as a 192.168.0.2 thru DHCP or manually. (in turn openvpn server[192.168.0.2] default gw is 192.168.0.1 to access Internet, so tracert to internet will show at first 192.168.0.2, then 192.168.0.1, then isp server ip and so on; tracert to branch01 computer – at first 192.168.0.2, 10.0.101.2, 172.16.101.xx)
- run on each central office server/workstation which is needed to be connected from/to branch offices
- “route add -p 172.16.101.0 mask 255.255.255.0 192.168.0.2”
- “route add -p 172.16.102.0 mask 255.255.255.0 192.168.0.2”
- and so on — to simplify and automate – you can create batch file and add it into central office AD site group policy as a computer startup script (site group policy, not default domain group policy – we don’t need to change routing tables in other sites)